Install Azure DevOps Tooling in 15 Minutes
Azure DevOps is a helpful tool suite that depends on the cloud. It offers a variety of features to help you manage your software development projects more easily. Some of these features include source control, continuous integration, delivery, project management tools, and more.
This article is here to assist you in installing Azure DevOps on your local machine in just 15 minutes. By following the instructions provided, you can set up Azure DevOps and use its features for your software development projects.
What is azure devops tooling?
Azure DevOps is a comprehensive set of software development tools from Microsoft that allows developers to effectively manage their entire software development lifecycle. It provides integrated capabilities for source code management, agile planning, continuous integration and deployment, testing, and release management.
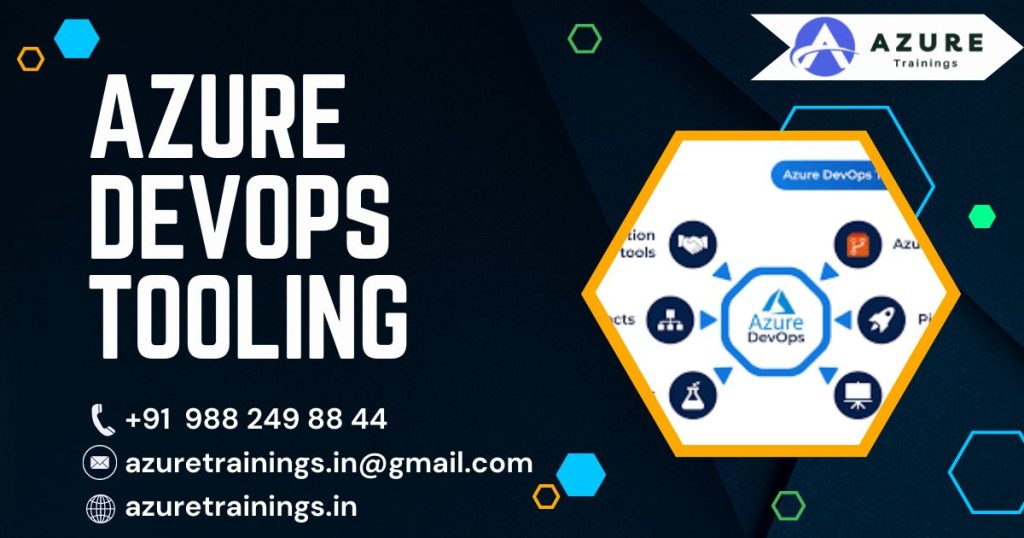
Azure DevOps tooling allows development teams to collaborate more efficiently, collaborate more effectively, and deliver high-quality software products faster. Its features include Git repositories for source control, boards and backlog management for tracking work items, pipelines for continuous integration and deployment, and functional and load testing test plans.
Azure DevOps also offers a range of extensions and integrations with other tools and services, such as Jira, Slack, and Azure itself. It provides support for multiple programming languages, platforms, and frameworks and enables users to build, test, and deploy applications across different cloud platforms and environments.
Using Azure DevOps tooling, teams can automate their development workflows,
shorten their release cycles, and achieve faster time to market with their software products. With its robust and scalable infrastructure and tools, Azure DevOps tooling is ideal for enterprise software development teams and individual developers.
Azure devops tools list
Azure Repos: This git-based version control system enables developers to manage their source code more easily and collaborate more efficiently. Azure Repos allows multiple developers to work on the same codebase simultaneously by creating branches and merging changes. It also offers features for reviewing and approving code changes, tracking history and contributing to code repositories.
Azure Boards: This tool provides a flexible and customizable Agile project management framework for tracking project progress, organizing tasks, and managing work items. It offers customizable boards, backlogs, reports, and dashboards that help teams stay aligned throughout the development cycle. It also supports iteration and release planning, capacity management, and retrospectives.
Azure Pipelines: Pipelines are a powerful platform for building, testing, and deploying applications across various platforms and environments. It offers Continuous Integration and Continuous Delivery (CI/CD) capabilities with features like build, test, and release automation. Azure Pipelines integrates with other Azure services like Azure Container Service, Azure Kubernetes Service, and Azure Functions, allowing developers to deploy applications anywhere on-premises or in the cloud.
Azure Test Plans: This tool provides a comprehensive functional, performance, and load-testing framework. It supports manual, automated, and load testing with features like test case management, exploratory testing, and test reporting. It also integrates with Azure boards, enabling teams to plan their tests and track execution progress.
Azure devops tooling pros and cons :
Azure DevOps is a powerful tool that offers several benefits to software development teams. Here are some of the key advantages:
- Collaboration and Communication: Azure DevOps provides a platform that helps team members work together more efficiently. Developers can share code, track progress, and provide feedback with features like boards, repositories, and pipelines, promoting effective communication and teamwork.
- Integrated Tools: Azure DevOps offers a suite of tools that work together seamlessly. Its integration of Git repositories, project management boards, and build and deployment pipelines streamlines the development process, saving time and effort by eliminating the need to switch between different tools.
- Scalability and Flexibility: Azure DevOps is highly customizable and can adapt to the needs of teams of any size, from small startups to large enterprises. Teams can choose the tools and services that best fit their requirements, providing flexibility and scalability.
- Automation and Efficiency: Azure DevOps streamlines the development process with automated builds and deployments, reducing manual errors and saving time, enabling faster delivery of high-quality software.
Despite these advantages, there are some potential challenges, or “cons,” associated with using Azure DevOps:
- Learning Curve: Learning how to use Azure DevOps may take some time, especially for team members who are new to the platform. However, Microsoft provides extensive documentation, tutorials, and community support to help simplify learning.
- Customization Complexity: While Azure DevOps offers many customization options, configuring and setting up complex workflows can be challenging for some users. Planning and designing the implementation carefully can ensure a smooth customization process.
- Change Management: Implementing new tooling can be challenging, and some team members may need help to adopt new processes and workflows. Proper change management and communication strategies are crucial to ensure a smooth transition and acceptance across the development team.
Azure devops tooling prerequisites :
Before you can begin installing Azure DevOps tooling on your computer, it’s important to ensure that you meet the following prerequisites:
- Operating System Compatibility: You will need a computer with either Windows 7 Service Pack 1, Windows 8.1, or Windows 10 operating system. Azure DevOps tooling had primarily designed for Windows operating systems.
- Internet Connection: Make sure you have a constant internet connection available. That is necessary to download the setup files required for the installation process.
- Administrative Access: You should have administrative-level access to your local machine. That allows you to make the necessary system changes and install the tooling successfully.
- Microsoft Visual Studio: While not mandatory, having Microsoft Visual Studio 2015 or after installed on your computer is recommended. It provides additional integration and development capabilities, enhancing your experience with Azure DevOps.
By having these prerequisites in place, you’ll be ready to install Azure DevOps tooling on your computer. It’s important to ensure you meet these requirements for a smooth installation process and optimal functionality of the tooling.
Installation Steps
- Download Setup File: Go to the official Microsoft Azure downloads page at https://azure.microsoft.com/en-us/downloads/. Look for the Azure DevOps Server 2019 Express setup file and click on the download link to start the download.
- Run as Administrator: Once the setup file had downloaded, navigate to your downloads folder and locate the file. Right-click on the setup file and pick “Run as administrator” from the context menu. Running the installation as an administrator ensures you have the necessary permissions during installation.
- Configure Installation Settings: The setup wizard will launch and guide you through installation. Follow the on-screen prompts to configure the installation settings. If unsure about any settings, proceed with the default options provided.
- Select DevOps Express: On the “Server Configuration” page of the setup wizard, choose the “DevOps Express” option. This option installs the necessary components for basic Azure DevOps functionality. Click “Next” to proceed to the next step.
- Admin Credentials: Enter your administrator username and password in the “Visual Studio Team Foundation Administrator Console” window. These credentials will grant you administrative control over the Azure DevOps Server. Click “OK” to continue.
- Verify Configuration: Take a moment to review the configuration settings on the final page before proceeding with the installation. Make sure that all the settings are as desired. If everything looks good, click “Install” to start the installation process.
- Wait for Installation: The installation process may take some time, depending on the speed and resources of your computer. It is important to be patient and avoid interrupting the process. Allow the installation to complete without any interruptions.
- Installation Complete: A confirmation message will be displayed once the installation has finished. Click “Finish” to exit the setup wizard. Azure DevOps tooling is now successfully installed on your local machine.
Following these detailed installation steps, you can install Azure DevOps tooling on your machine and utilize its features for your software development projects.
Conclusion
Installing Azure DevOps tooling on your local machine is a simple process in just a few minutes. The tooling provides many features and integration options that enhance collaboration, automate processes, and streamline your software development lifecycle.
By following the steps outlined above, you can quickly set up the necessary infrastructure to manage your software development projects efficiently and take advantage of the powerful capabilities of Azure DevOps.